Invoice List Report
The Invoice List report is used to produce a listing of document transaction details for a specified criteria.
You can access this report by selecting Reports > Sales > Invoice List from the main menu or by clicking the Reports button in the Sales section and selecting Invoice List from the menu.
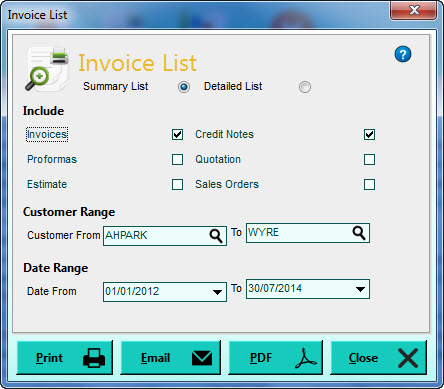
Summary or Detailed List
The option you select here will produce significantly different reports. The Summary List option will list general information about all of the transactions in the list on a line-by-line basis. The Detailed List option will include all of the item line information for each each transaction as well. See the screenshots under Print (below) for examples of the two types of reports.
Include
Using the checkboxes provided you can select which types of transactions you want to include in the list. Tick the types of transactions you want to include and untick those types that you do not want to include.
Customer Range
Select the range of customers you want to include transactions for. The customer range settings are always defaulted to the first and last customer references. Use the Look-Up icon (magnifying glass) in each box to find the customer you want.
Date Range
Select the range of dates that you want to include transactions for in the list. The Date From box defaults to the Start Date For Report Range setting in Company Preferences. The Date To box will always default to today's date (or the date you sign-in to the software with). All transactions dated outside this date range will be excluded from the report. Use the drop-down buttons at the side of the date boxes or press Alt+DownArrow on your keyboard to select a date from a pop-up calendar.
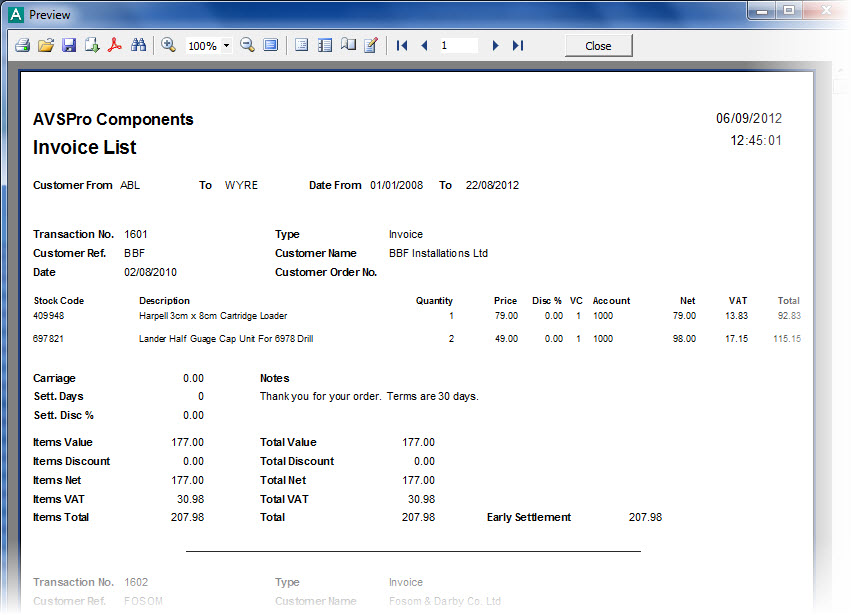
Click the Print button to produce the Invoice List report. By default this will show an on-screen preview for you to view the report and you can print it from the Preview window. If you prefer that the software send reports directly to the printer when selecting a Print option then you will need to change the Preview All Reports Before Printing setting in the Reports & Documents page in Company Preferences. See Company Preferences for more information.
The screenshot below shows an example of the Summary list :

The screenshot below shows an example of the Detailed list :
Click the Email button to send an email to a specified recipient with a PDF document of the report attached to it. Once the report is produced you will be given an email window to enter the recipient's email address and the message you want to send with the report. See the Sending Emails page for more information.
Click the PDF button to export a PDF document of the report. Once the report is produced you will be given an export window which enables you to make settings about how you want the PDF document exported and whether you want to open it after it has been exported. You can then select where you want to save it and to save it under a specific file name. See the Exporting PDF Documents for more information.