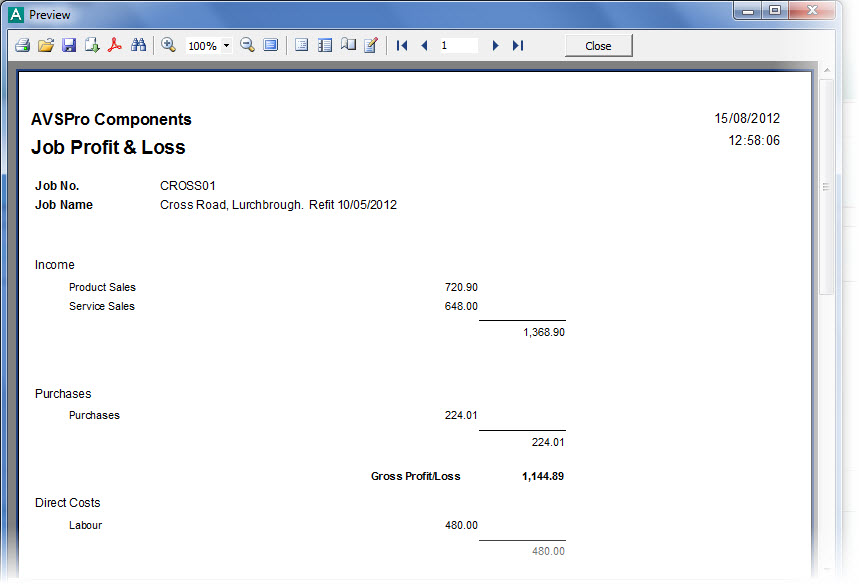
Job Profit & Loss
This option is used to produce a Profit & Loss report for a selected job.
To access this option select Reports > Jobs > Profit & Loss from the main menu or click the Profit & Loss button in the Job section.

Job No.
Enter the Job No. for the job you want to produce a profit & loss report for. This will initially default to the currently selected job in the Jobs list. If you want to select a different job then enter it's reference directly or enter a partial reference or click the magnifying glass button to perform a search lookup to find the relevant job. When you have selected a job, it's name will be displayed.
Date Range
Include All Dates
Tick this box if you want to include all transactions for the job in the Profit & Loss report regardless of the transaction dates. This is ticked by default. If you want to produce a P&L for a specific period then you should untick this box and specify the date range in the Date From .. To boxes below.
Date From ... To
Enter the date range for the Profit & Loss report you want for the selected job. These boxes are only available if you have unticked the Include All Dates checkbox. If you want to pick the dates from a calendar you can click the down-arrow buttons or press Alt+DownArrow on your keyboard.
Show Individual Accounts
This is used to specify if you want your profit & loss report to display the individual financial accounts or not. If you leave this checkbox unticked (as default) then the report will only include the groupings, as defined in the Financial Report Setup option, to display grouped balances. If you tick this box then the defined groupings will be used and the individual accounts will also be displayed with their balances.
Select the report you want to print
This applies if you have defined additional layouts for financial reports using the Financial Report Setup option. You select the layout that you want to use for the report by clicking the Down-Arrow button or pressing Alt+DownArrow on the keyboard and selecting the required layout. The default layout is Standard Management Reports.
When you have defined the criteria for the report that you want you can click one of the buttons at the bottom of the window :
Click the Print button to produce the Profit & Loss report for the selected job. By default this will show an on-screen preview for you to view the report and you can then print it from the Preview window. If you prefer that the software send reports directly to the printer when selecting a Print option then you will need to change the Preview All Reports Before Printing setting in the Reports & Documents page in Company Preferences. See Company Preferences for more information.
Click the Email button to send an email to a specified recipient with a PDF document of the selected financial report attached to it. Once the report is produced you will be given an email window to enter the recipient's email address and the message you want to send with the report. See the Sending Emails page for more information.
Click the PDF button to export a PDF document of the report. Once the report is produced you will be given an export window which enables you to make settings about how you want the PDF document exported and whether you want to open it after it has been exported. You can then select where you want to save it and to save it under a specific file name. See the Exporting PDF Documents for more information.